Key takeaways
- A stored code points at a circuit or a range, not automatically a bad part.
- Polaris and Yamaha models often show a code right on the dash after a key cycle or a button sequence.
- Can-Am systems log a fault as a paired SPN and FMI number instead of one single code.
- A code reader priced around $40 to $150 can show live data that most dash displays cannot.
- Clear a code only after the repair is finished and confirmed, not before.
The trail is loaded, the group is anxious to roll, and the dash lights up with a small engine icon the second you turn the key. The machine still cranks and idles fine, but everyone is standing around a phone looking for an owner’s manual nobody packed.
That icon means the computer already caught the problem and stored it. Most fuel injected UTVs built in the last 15 years log a code the instant a sensor reads outside its normal range, and it stays stored even after the light goes out.
The catch is that a code does not hand you a part number. It points at a circuit or a range, and reading it correctly is often the difference between a $20 connector cleaning and a sensor you never needed to buy.
This guide covers pulling stored codes on Polaris, Can-Am, and Yamaha machines, what a code reader adds, and how to turn any code into a real repair instead of a guess.
What a Stored Code Actually Tells You
An EFI computer checks every sensor and switch against an expected range. A coolant sensor might read around 200 ohms hot and several thousand ohms cold, and a crank sensor might show 200-1200 ohms of coil resistance depending on the model.
When a reading falls outside that window, or a signal disappears, the computer stores a code and often lights the dash. The code names the circuit, such as throttle position or coolant temperature, and sometimes the direction of the fault, too high or too low.
Here is the part owners miss. The computer cannot tell a failed sensor from a wire that never delivered its signal. A chafed ground or a corroded pin sets the exact same code as a dead sensor, so the fix is sometimes a 10-minute connector repair instead of a new part.
Reading Codes on Polaris Models
2014 and Newer Digital Gauge Models
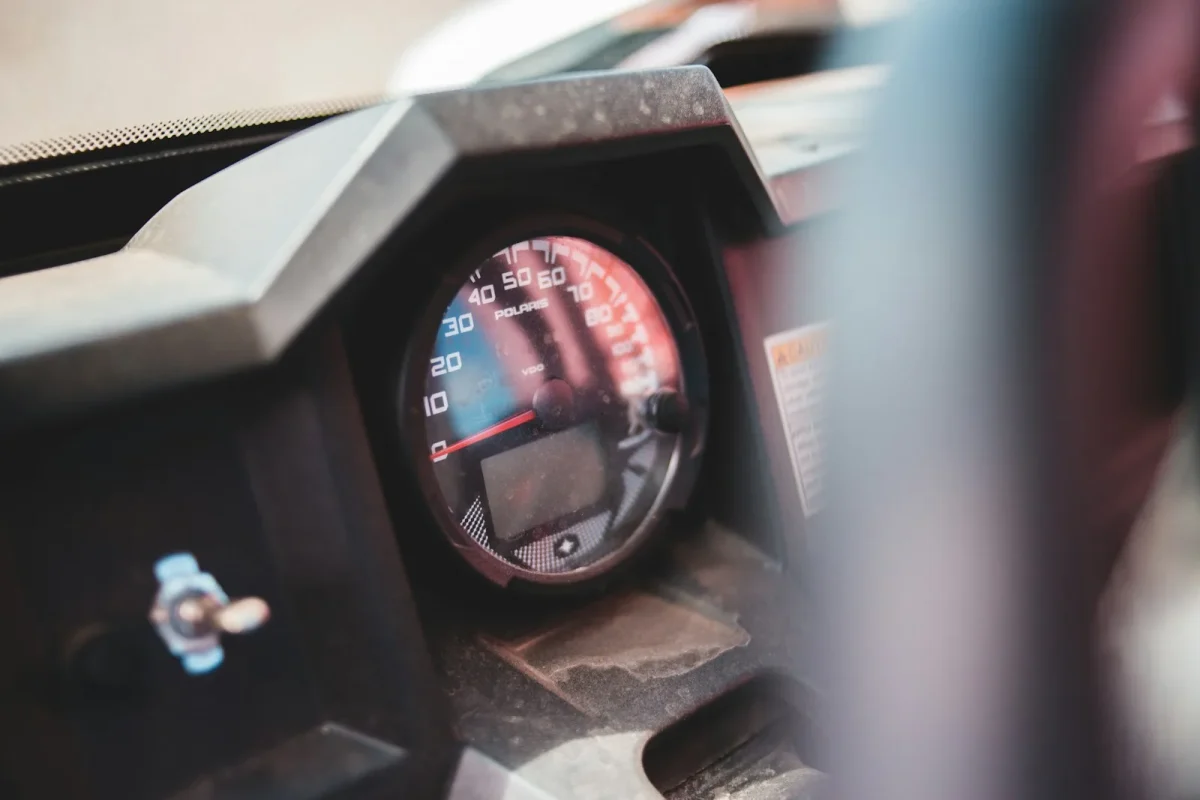
Most 2014 and newer Ranger, RZR, and General models show the code right on the digital display. Turn the key on, wait for the check engine icon, then press and hold the mode or select button (the label varies by gauge) for about 3 seconds.
The screen cycles through every stored code as a 3 or 4 digit number, pauses about 2 seconds, then starts over. Write down every number, since some machines store more than one code at a time.
Older Analog Gauge Models
Older analog gauge Polaris models use a blink code instead. Cycling the key off and on a set number of times within a few seconds, check your owner’s manual for the exact sequence for your year, puts the light into a flash pattern.
Long flashes give the first digit and short flashes give the second, so two long flashes followed by three short flashes reads as code 23. Watch for the pause between digits so you do not run two codes together.
Reading Codes on Can-Am Models
Can-Am’s Rotax based EFI systems log a fault as a paired SPN and FMI number rather than a single code. SPN stands for suspect parameter number and identifies the circuit, FMI stands for failure mode identifier and describes how it failed, so a throttle circuit reading too high might log as SPN 91 FMI 3.
Many Can-Am clusters scroll that SPN and FMI pair as a message when you press the info button with the wrench icon lit. Seeing live sensor data too usually needs Can-Am’s BUDS 2 dealer software or a compatible aftermarket reader.
A dealer level BUDS 2 kit runs $1,500 or more, which is overkill for one machine in a driveway. A Can-Am compatible aftermarket reader in the $60 to $120 range covers the same stored codes for most owners.
Reading Codes on Yamaha, Honda, and Kawasaki Models
Yamaha
Many Yamaha models with an FI warning light use a similar approach. Turn the key on, hold the select button for about 5 seconds while the FI light is on, and the light or display flashes a 2 digit code.
Honda Pioneer
Honda Pioneer models blink a code through the MIL indicator on the dash, long flashes for the first digit and short flashes for the second, the same pattern Polaris uses on its analog gauges.
Kawasaki Mule
Kawasaki Mule models vary by year. Some blink a code through the dash light and some need a reader plugged into the diagnostic connector to show anything.
Across every brand, that diagnostic connector is usually tucked under the seat or behind a side panel, wired through a 10 amp fuse shared with the gauge cluster. If the gauge is dead entirely, check that fuse before you assume the whole cluster failed.
Getting More With a Code Reader
A universal UTV code reader, priced $40 to $150, plugs into that same diagnostic connector and pulls stored codes plus live data: engine rpm, coolant temperature, throttle position as a percentage, and battery voltage. That live data catches intermittent faults a dash light alone will miss.
Before trusting any code, check the battery. A reading below about 11.5 volts can make the computer see several sensor circuits as out of range at once, even when every sensor is fine, so confirm at least 12.4 volts at rest before you chase a sensor.
| Brand | How to Access | What You Will See | Tool Needed |
|---|---|---|---|
| Polaris (2014 and newer) | Key on, hold mode button 3 seconds | 3 or 4 digit code on display | Built into the gauge |
| Polaris (older analog gauge) | Cycle the key per your owner’s manual | Long and short blinks of check engine light | Built into the gauge |
| Can-Am | Wrench icon plus info button, or dealer software | SPN and FMI pair, for example SPN 91 FMI 3 | $60 to $120 aftermarket reader or BUDS 2 |
| Yamaha | Key on, hold select button 5 seconds | 2 digit blink code or number on display | None on most models |
| Honda, Kawasaki, other | Blinking MIL indicator or a reader | Long and short flashes, or a numeric code | $40 to $150 universal reader |
A Code Points at a Circuit, Not a Parts Bin
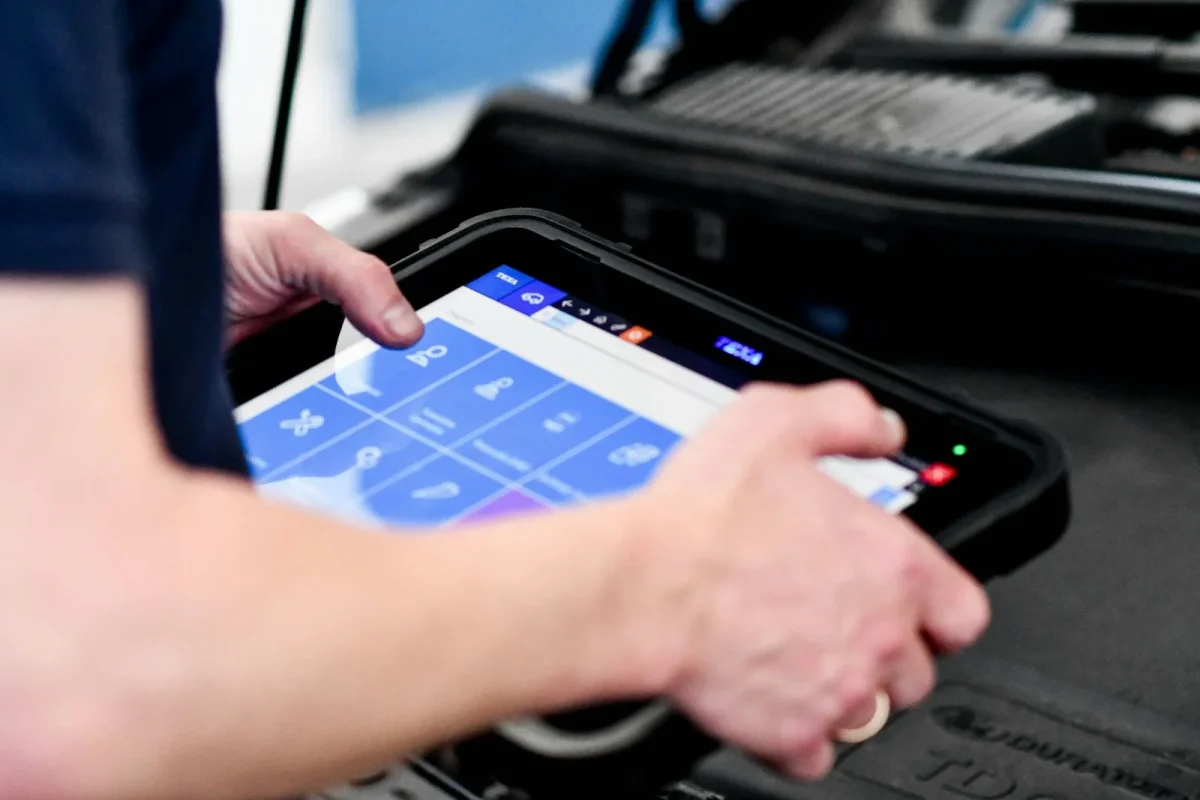
A code labeled as a throttle position or crank sensor fault tells you where the computer lost confidence, not which part to order. The connector, the wiring, a bad ground, and the sensor itself all sit on that same circuit, and any one can trigger the identical code.
I have watched an owner replace a $90 throttle body twice, two separate trips to the parts counter, before anyone popped the connector loose and found one bent pin barely touching. A 5-minute continuity check would have caught it the first time.
Test in this order: battery voltage first, then the connector and wiring for that circuit, then the sensor or switch against its spec. Replacing the sensor first is the expensive way to learn the wiring was the real problem.
- Write down the exact code and the conditions when it appeared
- Check the battery for at least 12.4 volts at rest before suspecting a sensor
- Look up the code against your brand and model year, not a generic list
- Inspect the connector and wiring for that circuit before replacing any part
- Test the sensor or switch against its spec with a multimeter
- Clear the code only after the repair is finished
- Ride test 10 to 15 minutes and recheck before calling it fixed
Clearing Codes the Right Way
Some ECUs clear a code automatically after about 40 consecutive trips with no repeat of the fault, but most owners want it gone sooner. A code reader’s clear function is the cleanest way, and on many machines a battery disconnect for at least 60 seconds does the same thing.
A code you clear without finding the cause is just a light turned off, not a problem solved. Ride the machine for 10 to 15 minutes after the repair, and if the same code sets again, you are back to testing the circuit, not starting from scratch.
Tip
Clear a code only after the repair is finished and tested, not before. Clearing it early erases the timing details that helped you find the fault, and a test ride afterward is the only way to know the fix actually held.
Safety
A code tied to the kill circuit, the security key, or a safety interlock is not the same as a sensor code you can ride out for the day. Those circuits exist to stop the machine on purpose, so treat a repeat fault there as something to fix now, not a note for later.
Next Steps After You Have the Code
Once you have the number, a 3 digit Polaris code, an SPN and FMI pair from a Can-Am, or a 2 digit Yamaha blink, look it up against your specific model and year before you touch a wrench. The same number can mean slightly different things across model years, and a 10-minute search saves a wasted parts run.
Test the circuit before you buy anything. A meter and 15 minutes at the connector tell you more than a parts counter guess, and it keeps a simple wiring fix from becoming an unneeded sensor purchase.
Fix the actual fault, confirm it with a test ride, then clear the code. That order, read it, test it, fix it, clear it, is what turns a dash light into a solved problem instead of a repeat guess.
Frequently asked questions
Can I read UTV fault codes without a scan tool?
Yes, on many Polaris, Yamaha, and Honda models the dash or a blinking light shows a stored code once you cycle the key or press the mode button, no scan tool required. Can-Am models usually need BUDS software or a compatible reader to see the full SPN and FMI numbers. Check your owner's manual for the exact button sequence for your model year.
What does it mean when a code keeps coming back after I clear it?
A code that returns within a few minutes or the next ride means the underlying fault is still present, not that the code reader is wrong. Clearing a code only resets the stored memory, it does not fix a loose connector, a failed sensor, or low voltage. Recheck the circuit named in the code before you clear it again.
Do I need a code reader or can I just use a multimeter?
A multimeter tests whether a specific sensor or switch matches its spec once you know where to look, but it cannot tell you which circuit set a fault in the first place. A code reader or the dash blink code narrows that search from dozens of components to one or two. Most owners get the best results using both, the code to aim the search and the meter to confirm it.
Will a low battery cause a false fault code?
Yes, a battery reading below about 11.5 to 12 volts can make the ECU see a sensor signal as out of range even when the sensor itself is fine. Always confirm at least 12.4 volts at the battery before you chase a sensor code. Charge or replace the battery first, then recheck the code.
Is it safe to keep riding with a check engine light on?
It depends on the code, a stored throttle or temperature code is not the same risk as one tied to the kill circuit or a safety interlock. If the machine runs normally and is not in limp mode, most riders finish the ride and diagnose it at home. If power drops, the engine overheats, or a warning message appears with the light, stop and investigate right away.

Vidya Verma
Vidya Verma is a UTV and powersports technician with hands-on experience diagnosing electrical, charging, and starting problems on Polaris, Can-Am, and other side-by-side platforms. She writes practical, workshop-tested repair guides that help owners troubleshoot faults, choose the right parts, and get their machines running reliably in the field. When she's not under the hood, she's out riding trails and stress-testing the same fixes she recommends.