Key takeaways
- Most Can-Am warning lights trace back to a corroded ground or connector rather than a failed module.
- A voltage drop test under load catches a bad ground that a simple resistance check will miss.
- The front fuse box is usually the first place water gets in, so check it before you replace a sensor.
- Clearing a fault code without fixing the connection just brings the same warning back within days.
A Can-Am Maverick X3 crawls up a rock ledge in low range when the gauge lights up like a slot machine. The wrench icon, a DPS warning, and a low voltage message fire at once. Two miles later, on flat ground, everything clears and the machine runs fine.
That pattern trips up plenty of owners and shops. The instinct is to replace the part behind whichever icon lit first, so a module or sensor gets swapped, and the fault returns within a week. The real cause is usually cheaper: a corroded ground, a wet connector, or a fuse box collecting mud for years.
This guide covers what the cluster is telling you, where Can-Am’s main grounds and fuse box live, and how to back-probe the connectors behind most gremlins. Bring a multimeter and half an hour.
What the Gauge Is Actually Telling You
Can-Am’s digital gauge on the Defender, Maverick, and Commander lineup uses icons: a wrench for a stored fault, a DPS icon for steering, a battery symbol for charging trouble. A dealer’s BUDS scan tool reads the exact code, but you can learn plenty before that appointment.
Pay attention to whether the lights show up alone or in a group. One wrench icon alone usually points to a single sensor. Three unrelated icons at once, or the whole gauge blinking and rebooting, means one voltage problem, not three separate failures.
Write down what you saw and when: cold start, after a water crossing, above a certain RPM, or after an hour of running. That narrows the search more than the code itself, since one code can come from a sensor, a connector, or a weak power supply.
The Pattern Behind Most Can-Am Gremlins
Shops that see a lot of Can-Am work will tell you this: modules rarely fail, connections do. A corroded ground raises resistance just enough that a module sees a voltage dip it dislikes, so it reports a fault or drops into limp mode.
Limp mode is a symptom, not the disease. It is the ECU cutting power after sensing something out of range, often a brief sag under 10.5 volts. Chasing limp mode without checking the wiring just replaces parts until the problem gets fixed by accident.
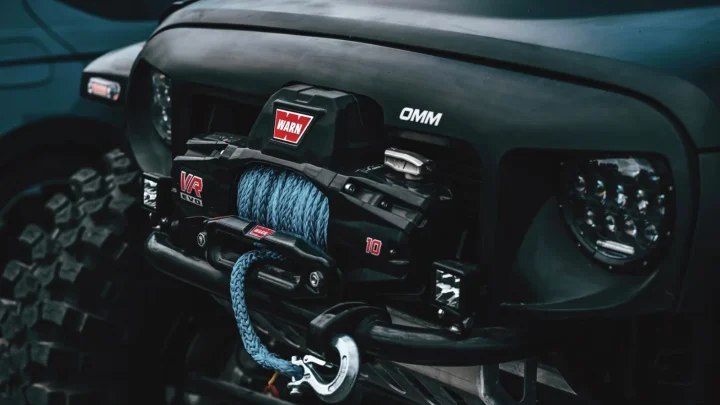
Aftermarket wiring adds to the pile. A winch, light bar, or stereo grounded to a bolt with paint under the terminal can pull the whole system’s grounding down enough to trigger unrelated warnings.
Checking the Main Grounds First
Start with a resting battery check, key off, engine cold. You want at least 12.4 volts. Anything lower, charge the battery first, since a tired battery mimics a dozen other faults.
Once the battery checks out, test the two grounds that affect nearly everything else on the machine.
Engine to Frame
Set your meter to DC volts, clip one lead to the engine block and the other to the frame rail. Engine running, headlights on for a load, you should read under 0.2 volts. Over 0.5 volts means the ground strap or bolt has enough corrosion to cause trouble.
Frame to Battery Negative
Repeat the test from frame to battery negative, engine running, lights on. This connection carries every amp the machine draws, so a loose terminal shows up as gauge flicker, weak accessory power, and the random warnings that started this search.
Both grounds usually sit on painted surfaces from the factory. Paint is an insulator, so a ground bolt reinstalled without scraping back to bare metal can look tight and still measure badly.
| Test Point | Voltage Drop (Under Load) | What It Means |
|---|---|---|
| Engine block to frame | Under 0.2 volts | Ground is solid |
| Engine block to frame | 0.3 to 0.5 volts | Starting to corrode |
| Engine block to frame | Over 0.5 volts | Bad ground, expect random faults |
| Frame to battery negative | Under 0.2 volts | Good connection |
| Frame to battery negative | Over 0.4 volts | Loose or corroded terminal |
| Front fuse box main feed | Under 0.3 volts | Fuse and holder are fine |
| Front fuse box main feed | Over 0.6 volts | Corroded fuse legs, replace holder |
If a ground reads high, do not just crank the bolt tighter. Pull it, wire-brush both surfaces to bright metal, and reinstall with a star washer. Torque an 8 mm bolt to 18 ft-lbs (24 Newton meters) and retest under load.
The Front Fuse Box and Why It Corrodes
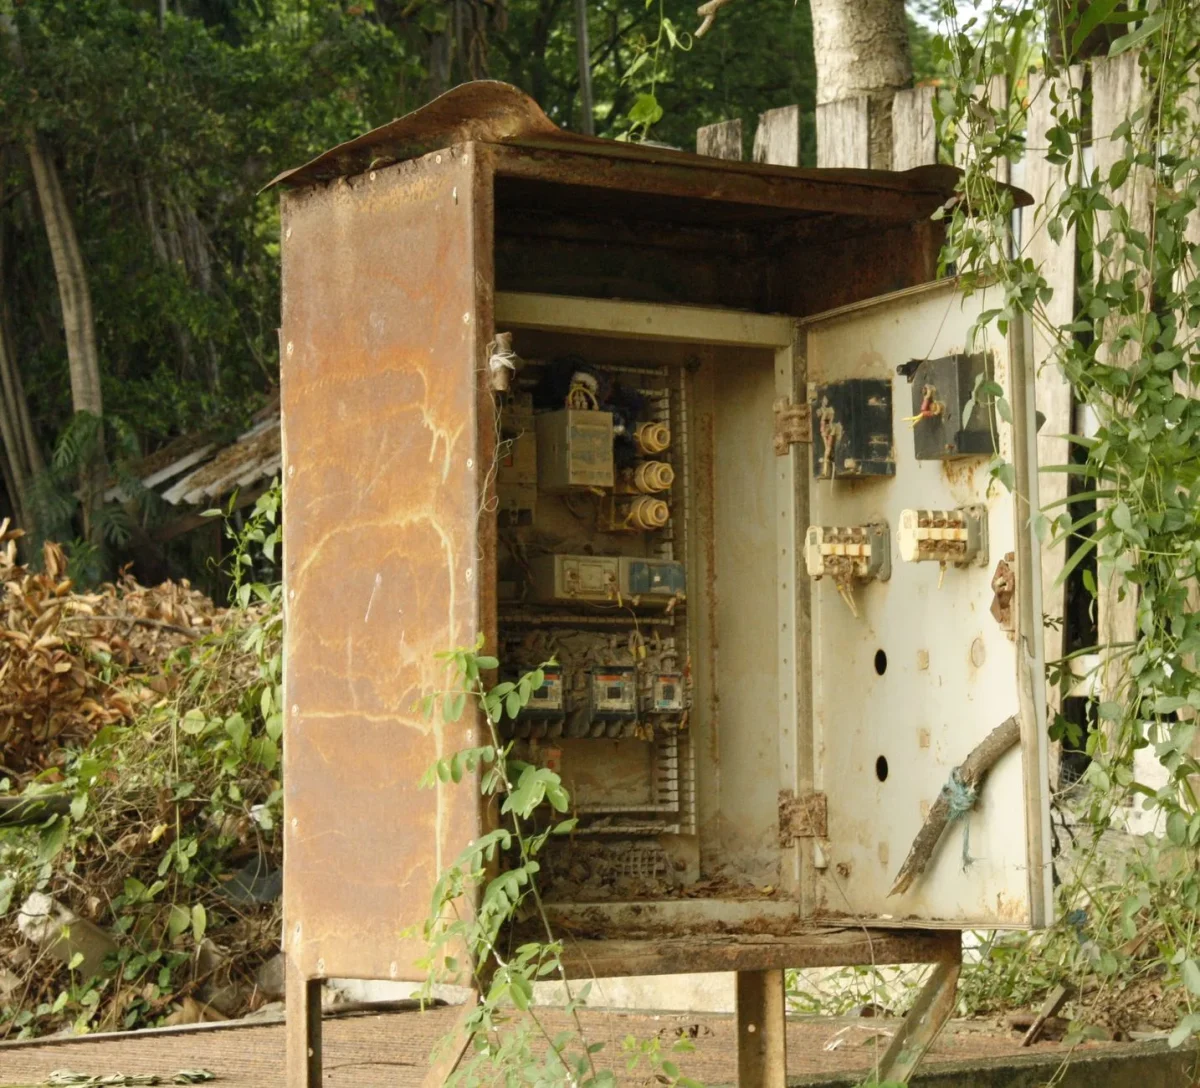
On most Defender and Commander models, the fuse box and relay center sit under the front hood, close to the radiator. Maverick X3 owners usually find theirs behind a side panel near the passenger footwell. Either spot collects mud fast once the seal ages.
Inside, look for blade fuses rated 5, 10, 15, 20, and 30 amps, with a 40 amp main fuse feeding the block. Green or white crust on the metal legs, not just the housing, is the tell. Test without pulling fuses: touch a probe to each leg for full battery voltage.
Relays for the fuel pump, cooling fan, and DPS motor share this box. A corroded socket causes the same symptoms as a bad relay, so swap-testing without checking the socket first can send you shopping for a $35 part you did not need.
Back-Probing the Connectors Everyone Skips
Two connectors cause more than their share of Can-Am electrical complaints: the DPS connector at the base of the steering column, and the main harness connector behind the dash. Both trap moisture and both get ignored because pulling them apart looks intimidating.
Back-probing tests a connector without unplugging it. Slide a fine pin alongside the wire into the back of the connector until it touches the terminal, then read voltage with the connector mated and the circuit live. Never pierce the insulation or spread a female terminal, since both invite corrosion.
Reading the Result
With the connector back-probed, wiggle the harness a few inches back while watching the meter and the gauge. A reading that drops out when you flex the harness has found your fault. A steady reading means the problem is elsewhere.
Tip
Watch the gauge, not just the meter, while you wiggle a suspect section. A fault that flickers for a quarter second is easier to catch by eye on the dash than on a meter display that updates once a second.
Water Intrusion: The Root Cause Behind Random Warnings
Plenty of Can-Am gremlins only show up after a water crossing, a muddy trail, or a pressure wash. Water does not have to flood a connector to cause trouble. A few drops on a corroded pin raise resistance enough to trip a sensitive module, then evaporate and take the fault light with them.
That vanishing act is why a dealer scan sometimes comes back clean. The fault got logged, and the connection has since dried out enough to test fine in a service bay. Reproducing the conditions, a hose on the area or the actual crossing if safe, is often the only way to catch it.
A Maverick X3 that came through a shop we know told this story well. The owner reported three warnings every time he crossed a creek: the wrench icon, a DPS fault, and a low voltage message, clearing within an hour once dry. Two shops had already suggested a new DPS module.
A voltage drop test across the frame to battery negative ground told a different story: 0.9 volts under load, four times the healthy limit. The ground bolt sat on a painted frame rail, never scraped to bare metal during a prior repair.
A wire brush, a new star washer, and 18 ft-lbs of torque brought the drop down to 0.05 volts. The warnings never came back, and the DPS module that almost got replaced was fine the whole time.
Before You Start
Disconnect the battery negative terminal before opening any connector for cleaning or repair. Several Can-Am circuits stay live with the key off, including the fuel pump and accessory feeds.
Run Through This Before You Call the Dealer
Go through these before you book a shop visit or start swapping parts.
- Write down which icons lit up, in what order, and whether the gauge itself blinked or restarted.
- Check resting battery voltage with the key off. Charge the battery first if it reads under 12.4 volts.
- Test the engine to frame ground and frame to battery negative ground under load, looking for under 0.2 volts.
- Open the front fuse box and check the fuse legs and relay sockets for green or white crust, not just the lid.
- Back-probe the DPS connector and the main harness connector behind the dash while wiggling the harness nearby.
- Recreate the conditions that trigger the fault, a hose or the actual water crossing, and watch the gauge closely.
- Clear the fault code only after a connection tests good, then note the mileage so you know if it returns.
Get Ahead of the Next Gremlin
Most of what gets called a Can-Am electrical gremlin is a $15 repair wearing a $600 part’s symptoms. A cleaned ground, a reseated connector, and dielectric grease fix more of these than a new module ever will.
Once you fix the current fault, spend twenty minutes checking nearby ground points and connectors. Corrosion rarely stops at one spot, and the next gremlin is often already forming next to the one you just fixed.
If the warnings keep coming back after the grounds test clean and connectors test tight, book the dealer visit and let a BUDS scan tool pull the stored codes instead of guessing.
Frequently asked questions
Why does my Can-Am go into limp mode for no reason?
Limp mode is the ECU protecting itself after seeing a voltage or sensor reading out of range, often a brief dip under 10.5 volts caused by a corroded ground or connector. The engine and dash return to normal once the connection is repaired, since the module itself is rarely damaged.
Where is the main fuse box on a Can-Am Defender or Maverick X3?
On most Defender and Commander models it sits under the front hood near the radiator. Maverick X3 owners usually find theirs behind a side panel near the passenger footwell. Check your owner's manual for the exact bay on your model year.
Can a bad ground really cause random warning lights?
Yes. A ground with over 0.5 volts of drop under load can starve a module of a clean reference voltage, which several Can-Am systems read as a fault even though every part is working. Cleaning the ground to bright metal and retorquing it clears most of these warnings.
What does the wrench icon mean on a Can-Am dash?
It means a fault code is stored, but the icon alone does not say which one. A dealer's BUDS scan tool reads the exact code, though checking the grounds, fuse box, and nearby connectors first often finds the cause without a shop visit.
How do I stop a cleaned connector from corroding again?
Coat the cleaned terminals with a thin film of dielectric grease before reseating the connector, and make sure the outer seal or boot is fully seated. A tube costs about $6 and one application typically lasts several seasons of normal use.

Vidya Verma
Vidya Verma is a UTV and powersports technician with hands-on experience diagnosing electrical, charging, and starting problems on Polaris, Can-Am, and other side-by-side platforms. She writes practical, workshop-tested repair guides that help owners troubleshoot faults, choose the right parts, and get their machines running reliably in the field. When she's not under the hood, she's out riding trails and stress-testing the same fixes she recommends.