Key takeaways
- Back probing lets you read a live UTV connector without cutting into the harness or breaking a seal.
- Always slide the pin in from the back of the connector alongside the wire, never through the insulation.
- Use the smallest pin that makes solid contact so you never spread a female terminal.
- A voltage drop under 0.2 volts across a connector is healthy, and anything over 0.5 volts points to real resistance.
- Mark every wire you test so you do not waste time rechecking the same circuit twice.
A 2019 Polaris RZR XP 1000 rolled into the shop with a fuel gauge that swung from full to empty every time the trail got rough. The wiring diagram pointed to a two-wire sender circuit inside a sealed connector under the tank. Cutting into that harness to chase the reading would have meant repairing a connector that was not actually broken.
This is exactly the job back-probing was built for. You slide a thin pin into the back of a mated connector, touch the metal terminal inside, and read live voltage or resistance without opening a single wire. The circuit stays exactly as the machine sees it on the trail, under load, fully seated.
Done wrong, back-probing creates the very fault you were trying to find: a pushed-back pin, a spread socket, or a pinhole through the insulation that turns a healthy connector into next season’s intermittent problem. Done right, it takes about five minutes and points straight at where the resistance is hiding.
Why Back-Probing Beats Cutting Into a Harness
Splicing a test lead into a wire works, but it leaves a permanent mark. You strip insulation, twist in a tap wire, then reseal the splice with tape or heat shrink. On a machine that fords creeks and gets pressure washed after every ride, that splice is a future leak point.
Back-probing skips all of that: the connector stays mated, the terminals keep their original shape, and the circuit carries its normal load while you read it. A voltage drop test only means something with current flowing. Back-probing is the only way to get that live reading without breaking the circuit open first.
It also protects your diagnosis, since a connector you have not disturbed behaves the same way tomorrow as it did today. Cut a wire to test it and you might fix the symptom by accident, then spend an hour wondering what you actually repaired.
Tools to Gather Before You Start
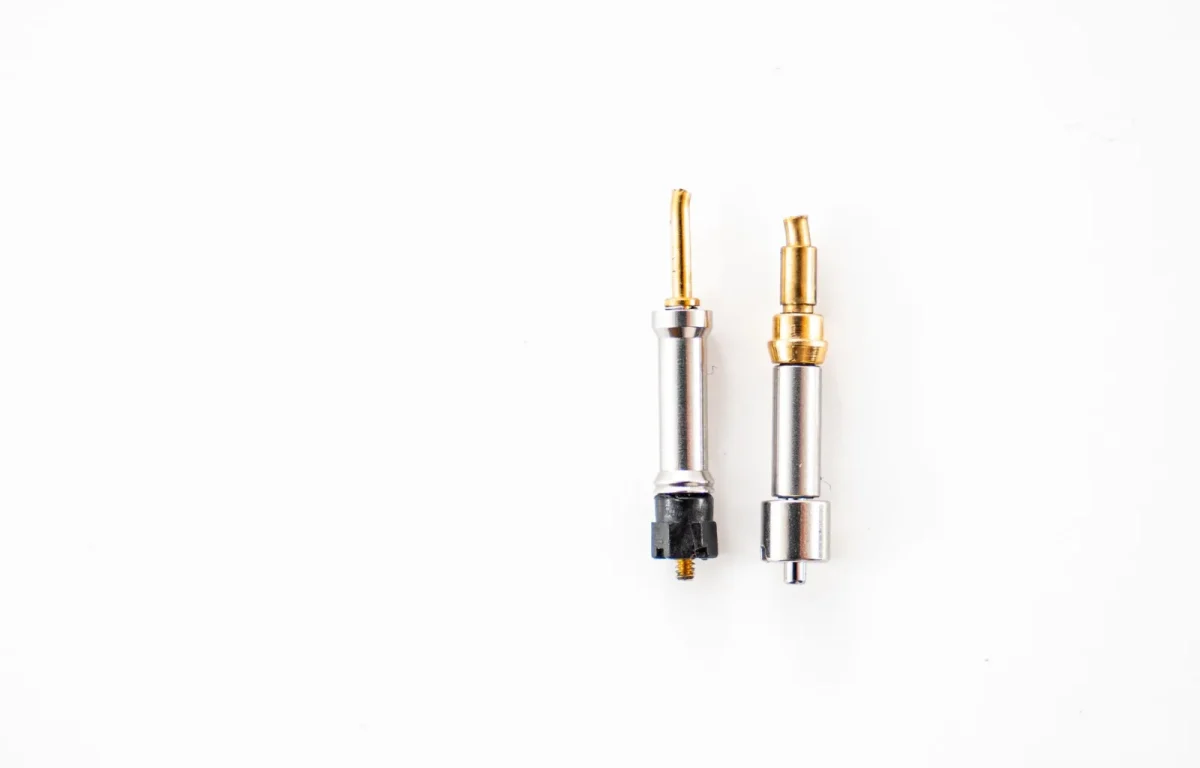
A basic back-probe pin set runs $15 to $45 and includes several pin diameters, usually from about 0.25 mm up to 0.64 mm, to match different terminal sizes. Spend the extra few dollars on a kit with a range of sizes. Sumitomo and Metri-Pack terminals common on Honda, Yamaha, and Kawasaki harnesses are noticeably smaller than the Deutsch DT terminals used through most Polaris and Can-Am wiring.
You also want a digital multimeter with at least 10 megohms of input impedance, since a cheap analog meter or an old low-impedance meter can pull enough current through a sensor circuit to skew the reading. Round out the kit with the wiring diagram for that circuit, a paint pen or a roll of tape for marking tested wires, and a flashlight. Most of these connectors hide under a seat, a dash panel, or a fender well.
How to Back-Probe a Connector Step by Step
- Find the circuit on the wiring diagram and note the pin number, wire color, and expected reading.
- Pick the smallest back-probe pin that makes solid contact with that terminal, and size up only if needed.
- With the connector still fully mated, slide the pin along the backside of the wire into the cavity until it stops against the metal terminal. Never push it through the wire itself.
- Clip the meter lead to the probe pin, then ground the other lead to a clean chassis ground or the opposite end of the circuit, depending on the test.
- Turn the key on, start the engine, or trigger the accessory, whatever the circuit needs to carry its normal load, then read the meter.
- Gently wiggle the harness near the connector while watching the display. A steady number is good; a flickering or dropping number means a bad terminal or a chafed wire nearby.
- Remove the pin straight back out the way it went in, and check that the terminal did not push backward out of its cavity.
- Mark the wire you tested with tape or a dot of paint pen before moving to the next circuit.
Reading a Sealed Connector Without Damaging It
Most UTV harnesses built since the mid-2010s use sealed, weatherproof connectors, and each family behaves a little differently under a back-probe pin. Knowing which one you are looking at before you start saves the terminal.
Deutsch DT and DTM Connectors
Deutsch DT connectors are common on Polaris RZR and Can-Am Maverick main harness splices, usually with size 16 pins and a wedge lock or TPA piece holding everything in place. Back-probe from the rear seal, alongside the wire, and stop as soon as the pin touches metal. Forcing it further can push the wedge lock out of position.
Metri-Pack 150 and 280 Series
Metri-Pack style connectors show up in some fuel pump and ignition circuits, with the 280 series carrying higher current and accepting a slightly larger probe while the 150 series signal circuits want a finer pin, closer to 0.25 mm. Using a 280-size pin on a 150 series socket is a fast way to spread the terminal.
Sumitomo and AMP Multilock Connectors
Honda Talon, Yamaha YXZ1000R, and Kawasaki Teryx and Mule models lean on small Sumitomo and AMP Multilock connectors for switches and sensors, with terminals rated for 3 to 5 amps on signal circuits that spread easily. A dedicated fine pin, not a standard test light probe, is the only safe way in.
Mistakes That Create the Next Fault
The most common shortcut is piercing the wire insulation with a sewing needle or a straight pin instead of back-probing properly. It gives a fast reading, but it also leaves a pinhole that lets in moisture. Six months later that pinhole is a green corrosion spot and a brand new intermittent fault.
The second common mistake is using a probe too large for the terminal. On a machine with around 400 hours on it, I once pulled a connector apart and found a socket opened just enough, by a test probe two seasons earlier, to lose contact every time the machine hit a bump. The owner had already replaced a sensor that was never the actual problem.
Tip
Mark every wire the moment you finish testing it. In a 20-pin connector with three wires of nearly the same color, it is easy to probe the same one twice and waste ten minutes, or skip the one wire that actually mattered.
Reading the Results: Do This, Not That
| Situation | Do | Do Not |
|---|---|---|
| Testing a wire’s signal | Back-probe from the connector’s rear seal | Pierce the insulation with a needle or pin |
| Female terminal socket | Use the smallest pin that makes contact | Force a pin that spreads the socket open |
| Sealed connector, Deutsch or Metri-Pack | Probe alongside the wire, through the existing seal | Cut or enlarge the seal to fit a bigger pin |
| Taking the reading | Read with the circuit loaded, key on or engine running | Unplug the connector and read it dead |
| After the test | Remove the pin straight out, mark the wire | Leave a bent pin or a pushed-back terminal |
Once you have a live reading, the numbers do the talking. A voltage drop under 0.2 volts across a loaded connector or ground is healthy. A reading of 0.3 to 0.5 volts is marginal and worth watching at the next service, and anything over 0.5 volts is a real problem, almost always corrosion or a loose terminal.
Resistance readings work the same way: the connector itself should measure close to 0 ohms pin to pin through a healthy circuit. A reading climbing past a few ohms, especially one that jumps as you wiggle the harness, points to a terminal that needs to come out, get cleaned with contact cleaner, and go back in with a fresh coat of dielectric grease on the seal.
Checklist for a Clean Back-Probe Test
- Wiring diagram open, with the pin number and wire color confirmed
- Back-probe pin sized to the terminal, smallest one that makes contact
- Multimeter set to the correct function before the pin goes in
- Connector fully mated, pin inserted from the rear only
- Circuit loaded, key on or engine running, during the reading
- Harness wiggled gently while watching for a flickering number
- Pin removed straight back out, terminal checked for push-back
- Wire marked with tape or paint pen once the test is done
Put the Meter Away and Reassemble
Once the reading tells you what you need, disconnect the meter and pull the pin out the same way it went in, straight back. A small dab of dielectric grease over the entry point on the rear seal keeps water out, especially on connectors that live low on the frame near the skid plate.
Reseat the connector until the latch clicks, snug any mounting bracket screws to about 15 to 20 inch-pounds so you do not crack the plastic housing, then tug gently on the harness to confirm it is locked. If the reading pointed to trouble, a voltage drop over 0.5 volts across a ground or a wire, that is your cue to pull the terminal, clean it, and retest before you order any new parts.
Back-probing will not fix anything by itself; it just tells you the truth about a live circuit without adding a new fault to find later. Keep the pin sized to the terminal, keep the connector mated, and mark what you have already checked. That habit alone will save you from re-diagnosing the same wire twice on a machine that only gets harder to read the longer a real fault sits.
Frequently asked questions
Can I back probe any connector on my UTV?
Most connectors accept a back probe pin, but small Sumitomo or Metri-Pack sockets often need a fine pin around 0.25 mm or a factory test lead adapter. Anything larger risks spreading the socket, so check the terminal size before you force a pin in.
Is it safe to use a sewing needle or paperclip instead of a real back probe pin?
No, avoid both. They are usually too large or the wrong shape, and they tend to pierce the insulation or spread the terminal instead of sliding in beside it. A dedicated pin set costs about $15 to $45 and pays for itself the first time it saves you a corroded wire.
What voltage drop reading means a connector is failing?
Under 0.2 volts across a loaded connector is healthy. A reading of 0.3 to 0.5 volts is marginal and worth watching, and anything over 0.5 volts means real resistance, usually corrosion or a loose terminal that needs cleaning or replacement.
Can back probing damage a connector?
Yes, if the pin is too large for the terminal or goes in at an angle, it can spread a female socket or bend a male pin. Start with the smallest pin that makes contact and always remove it straight out when you are done.
Do I need to disconnect the battery before back probing?
No, back probing works because the circuit is live and carrying its normal load. Disconnect the battery only if you are also touching bare wire, working near the starter, or the wiring diagram calls for it on that specific circuit.

Vidya Verma
Vidya Verma is a UTV and powersports technician with hands-on experience diagnosing electrical, charging, and starting problems on Polaris, Can-Am, and other side-by-side platforms. She writes practical, workshop-tested repair guides that help owners troubleshoot faults, choose the right parts, and get their machines running reliably in the field. When she's not under the hood, she's out riding trails and stress-testing the same fixes she recommends.