Key takeaways
- A battery can read 12.6 volts at rest and still fail the instant real current hits it.
- A proper load test pulls roughly half the rated cold cranking amps for 10 to 15 seconds and watches where the voltage lands.
- A healthy 12 volt UTV battery should hold above 9.6 volts through that test at normal temperature.
- Voltage that collapses below 9.6 volts, or drops and keeps falling, means the battery is done no matter how new it looks.
- Always charge and rest the battery fully before testing, since a low or surface charged battery will fail a good test for the wrong reason.
The battery in your Ranger reads 12.6 volts on the meter. That is a full charge by any book. You turn the key anyway and the starter drags through half a turn before the lights on the dash blink out.
Voltage at rest measures pressure, not power. A battery can hold a perfect resting number and still not have the amperage to spin a starter motor once real current is asked of it. The only way to know for sure is to load it and watch what happens.
This happens constantly with seasonal machines. A UTV that sat in a shed for three months looks fine on a multimeter, then fails the moment it has to do actual work.
Below are the two load test methods that separate a battery worth keeping from one that needs to go in the recycling bin, plus the numbers that tell you which is which.
A Full Voltage Reading Does Not Tell the Whole Story
A digital multimeter measures the electrical pressure between the two terminals. It says nothing about how many amps the battery can actually deliver once the starter demands 150-300 amps for a second or two.
Lead acid and AGM batteries lose plate surface area as they age or sulfate. The chemistry can still produce 12.6 volts with almost nothing behind it, similar to a garden hose with good pressure but a pinhole through the wall. The moment you open the tap all the way, it cannot keep up.
A load test is the only way to expose that condition before you are stuck at the trailhead.
What a Load Test Actually Does
A load test applies a controlled electrical draw, roughly half the battery’s rated cold cranking amps (CCA), for 10-15 seconds. A meter watches the voltage the entire time.
A strong battery barely flinches, dipping slightly then holding steady near 9.8 to 10.5 volts for the full 15 seconds. A weak battery starts dropping immediately and keeps falling the longer the load stays on.
The pass mark most shops use for a 12 volt powersports battery is 9.6 volts, measured at the very end of the test, at a battery temperature around 70 degrees Fahrenheit (21 degrees Celsius). Cold batteries need a slightly lower bar, since capacity naturally drops with temperature.
Know Your Battery’s Rating Before You Test
Check the case label before hooking up any tester. Most UTV and ATV batteries are small compared to a truck battery, typically rated 100-300 CCA depending on the machine and the battery’s physical size (common group sizes are YTX14, YTX20L, and similar).
A Polaris RZR or Can-Am Defender running a bigger twin cylinder engine often uses a battery in the 270-300 CCA range. A smaller ATV like a 350-500cc trail machine might only need 100-150 CCA.
The test load is always about half that number, whatever the battery’s CCA rating happens to be. Guessing the load, or using a fixed setting meant for a car battery, will give you a false result in either direction.
Method One: Carbon Pile or Electronic Load Tester
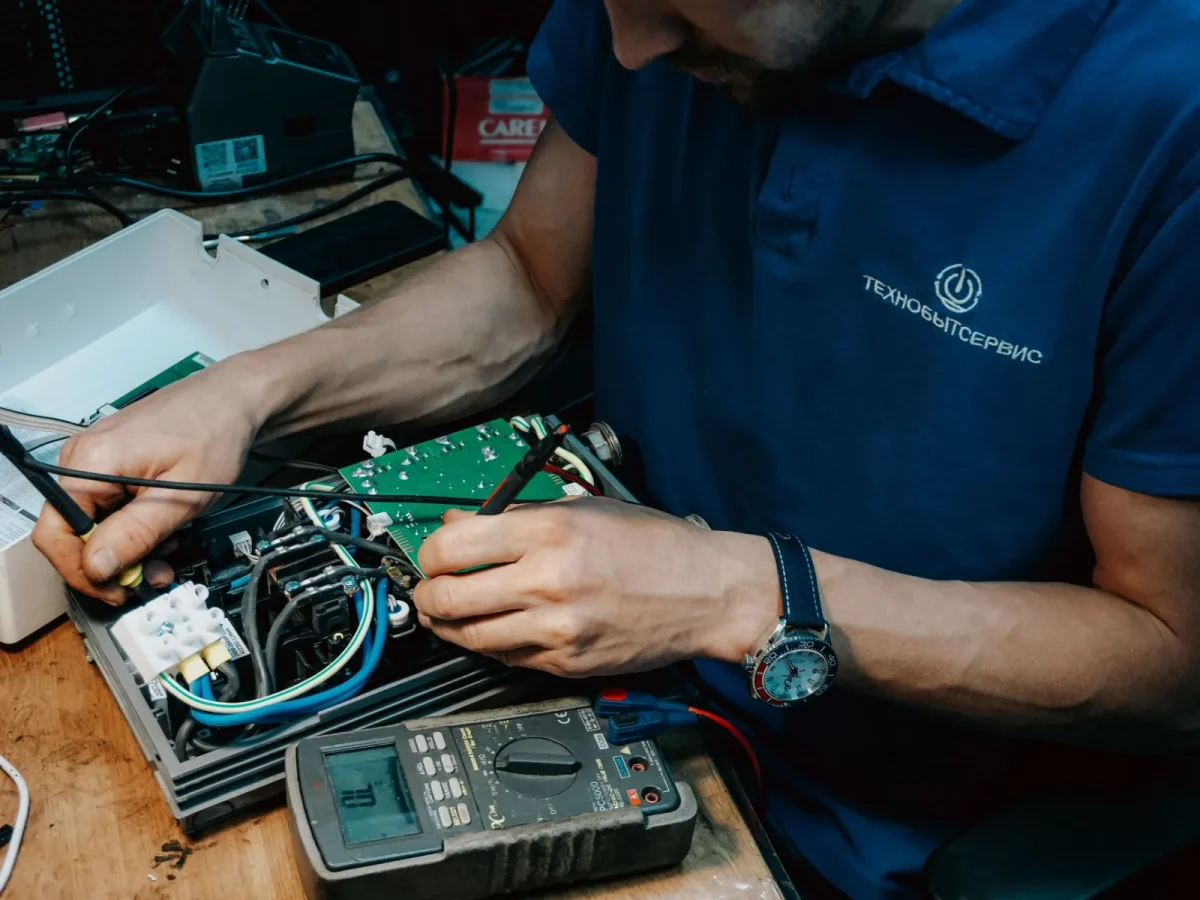
This is the bench method and the more accurate of the two. Pull the battery, or at least disconnect it, and hook the tester’s clamps to the correct terminals, red to positive, black to negative.
Dial the load to half the CCA rating and apply it for 10-15 seconds, no longer. Watch the needle or digital readout at the moment you release the load. That final number is the one that matters.
A basic analog carbon pile tester runs about 40-150 USD. A digital conductance tester that also estimates CCA and state of charge runs 100-300 USD, and a professional shop unit can run 500 USD or more. Any of them will get you the same pass or fail answer for a straightforward load test.
I once had a Can-Am Defender battery come in fresh off a two hour charge, reading 13.1 volts, practically showroom new. The moment 100 amps hit it on the carbon pile, it fell straight to 7.2 volts and stayed there, a surface charge hiding a dead cell. It is the single most common false pass I see in a shop.
Method Two: The In Vehicle Cranking Voltage Test
No bench tester on hand? The starter motor itself makes a fine load tester. This method works with the battery still installed.
Set a multimeter to DC volts and clamp it directly to the battery terminals, not the cables further down the harness. Disable the engine from starting, either by pulling the kill switch, grounding the spark plug lead, or cutting fuel, so you can crank without it firing.
Crank the engine for 10-15 seconds and read the lowest voltage the meter shows during that window. A healthy battery and starter circuit together should not drop below 9.6 volts.
If the number keeps sliding the longer you crank, stop. That battery is failing under load.
Reading the Numbers: Pass, Marginal, and Fail
Once you have a final voltage, here is how to interpret it for a 12 volt lead acid or AGM powersports battery at normal temperature.
| Battery CCA Rating | Test Load Applied (50% of CCA) | Passing Voltage at 15 Seconds | What a Fail Looks Like |
|---|---|---|---|
| 100 CCA | 50 amps | 9.6 volts or higher | Below 9.1 volts, or still falling |
| 150 CCA | 75 amps | 9.6 volts or higher | Below 9.1 volts, or still falling |
| 200 CCA | 100 amps | 9.6 volts or higher | Below 9.1 volts, or still falling |
| 270 CCA | 135 amps | 9.6 volts or higher | Below 9.1 volts, or still falling |
| 300 CCA | 150 amps | 9.6 volts or higher | Below 9.1 volts, or still falling |
Anything between 9.1 and 9.6 volts is marginal. Charge the battery fully and test again in a day or two. A battery that lands marginal twice is close enough to failing that most technicians just replace it.
When to Condemn a Battery for Good
Two patterns mean the battery is done. First, the voltage collapses well below 9.6 volts almost immediately after the load goes on, often diving into the 6-8 volt range within a few seconds. Second, the voltage recovers slowly after the load comes off, creeping back up over a minute or more instead of bouncing back within a few seconds.
Either sign means one or more internal plates cannot hold a charge or pass current the way they should. No amount of charging fixes that. It is a replacement, not a repair.
A battery that is physically swollen, cracked, or leaking should never be load tested at all. Replace it and move on; testing a damaged case risks a rupture under load.
Safety
Only load test a fully charged battery. Testing one below 12.4 volts resting will show a false fail every time, since a weak charge state and a weak battery look identical to a load tester. Charge it to at least 12.6 volts, let it rest for an hour, then test.
Mistakes That Ruin a Load Test
Testing too soon after charging is the most common error. Surface charge sits on the plates right after a charge and inflates the resting voltage for 30 minutes to a few hours.
Testing a cold battery is another. A battery sitting in an unheated garage at 20 degrees Fahrenheit can lose 30-50 percent of its rated capacity compared to 70 degrees. Warm it to room temperature first, or expect to judge the result a little more leniently.
Loose or corroded terminals are the third trap. Any connection with more than 0.2 volts of drop across it will pull the reading down and make a good battery look weak. Clean the posts and clamp the tester directly to bare metal, not through corrosion or a dirty terminal.
Tip
Bleed off surface charge before you test. Turn on the headlights for about 2 minutes, then switch them off and let the battery sit for 10 minutes. That knocks down the surface charge and gives you a true resting voltage before you ever apply a load.
- Charge the battery to 12.6 volts or higher before testing
- Let it rest at least one hour off the charger so surface charge settles
- Warm a cold battery to close to room temperature first
- Clean corrosion off both terminals so the clamps grip bare metal
- Confirm the CCA rating printed on the case
- Set the tester load to roughly half that CCA number
- Apply the load for 10-15 seconds, never longer
- Record the lowest voltage seen, not the number right when the load starts
Getting Your UTV Back on the Trail
If your battery held above 9.6 volts through a full 15 second load and recovered quickly afterward, put it back to work with confidence. Clean the terminals, torque the clamps to about 50-70 inch pounds, and add a smear of dielectric grease to slow future corrosion.
If it landed in marginal territory, charge it fully, let it sit a day, and run the test again before spending money on a replacement. A single low reading right after a hard winter is not always a final answer.
If it failed outright, a couple hundred dollars and 20 minutes swapping in a new battery beats a tow off the trail every time. Match the group size and CCA rating to what came out, and check the charging system output while you are in there.
Frequently asked questions
What size load tester do I need for a UTV battery?
Most UTV and ATV batteries carry a cold cranking amp rating between 100 and 300 CCA, so a handheld tester or carbon pile that adjusts down to 50 amps covers nearly every machine. Set the load to half the CCA printed on the battery case. A tester built only for full size car and truck batteries may not dial down low enough for an accurate result.
Can I load test a UTV battery without removing it from the machine?
Yes, the in vehicle cranking voltage test works with the battery still installed. Put a meter on the terminals, disable the ignition or pull the kill switch so the engine cannot fire, then crank for about 10 to 15 seconds while you watch the lowest voltage. This is a good option when a bench tester is not available.
Why did my battery pass a load test but still crank slowly?
A slow crank with a passing load test usually points to resistance somewhere else in the circuit, not the battery itself. Corroded terminals, a worn starter relay, or a bad ground connection can all drop voltage before it reaches the starter. Check for more than 0.2 volts of drop across any single connection while cranking.
How long should I charge a battery before load testing it?
Charge it until the resting voltage reads 12.6 volts or higher, then let it sit disconnected from the charger for at least one hour, ideally overnight. Testing right off the charger measures surface charge instead of true capacity, and it will make a weak battery look fine.
Is a load test safe to do myself at home?
Yes, with basic precautions. Wear safety glasses, keep the load applied for no more than 15 seconds at a time so the tester and battery do not overheat, and only test a battery with no cracking, swelling, or leaking. A damaged case means replace it, not test it.

Vidya Verma
Vidya Verma is a UTV and powersports technician with hands-on experience diagnosing electrical, charging, and starting problems on Polaris, Can-Am, and other side-by-side platforms. She writes practical, workshop-tested repair guides that help owners troubleshoot faults, choose the right parts, and get their machines running reliably in the field. When she's not under the hood, she's out riding trails and stress-testing the same fixes she recommends.