Key takeaways
- Charge and load test the battery before you blame the stator or regulator.
- A healthy Mule charging system reads 13.8 to 14.7 volts at 3000 rpm, not at idle.
- A corroded stator connector under the seat causes more no charge complaints than an actual dead stator.
- Test stator resistance and AC output before you spend money on a new regulator rectifier.
- Clean the engine to frame ground strap before you condemn any electrical part.
The feed is loaded, the gate is latched, and the Mule fires up on the first turn of the key every morning. Then one evening the headlights fade on the ride back to the barn, and the next morning the starter barely turns the engine over.
That pattern, strong right after a charge and weak again a day or two later, almost always points at the charging system, not the battery itself.
Kawasaki Mules earn this problem more than most UTVs. They sit outside between chores, get hosed off after a muddy haul, and run lights and accessories that load a small charging system hard.
Three things cause most no charge complaints: a worn stator, a failed regulator rectifier, or a corroded connector between them. Test in that order and you will find the actual fault instead of guessing at parts.
Why Mules Lose Their Charge
A Mule’s charging system has three parts: the stator makes raw AC off the flywheel, the regulator rectifier converts it to DC and holds voltage steady, and a harness with two or three connectors carries power to the battery.
Any one of the three can fail alone: a stator winding shorts from age and heat, a regulator cooks itself from vibration, or a connector corrodes from pressure washing until the pins barely pass current.
There is a fourth factor that is not really a failure: a weak battery. A Mule that sits three or four weeks between jobs can drop to 12.1 volts resting even with a healthy charging system, because the battery itself has sulfated.
Start With the Battery, Not the Stator
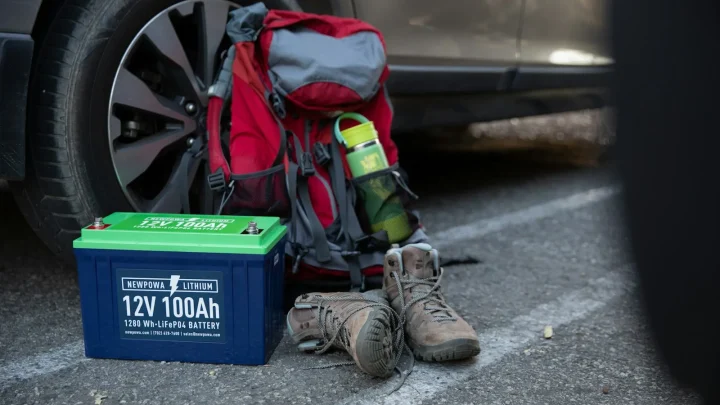
Before you touch a meter to the stator plug, confirm the battery can actually hold what the charging system gives it. Pull the battery, charge it fully, and let it rest an hour with no load.
A good 12 volt battery reads 12.6 to 12.8 volts at rest, and 12.4 to 12.6 volts is low but usually chargeable. Below 12.4 volts, charge it again and retest; one that will not climb above 12.2 volts after a full charge and an hour of rest is done.
Load test it if you have the tool. A battery that drops below 9.6 volts under a 15 second cranking load has a dead cell, and no stator or regulator test matters until you replace it.
Reading Charging Voltage at the Battery
With a known good battery installed, clip a multimeter set to DC volts to the terminals, red to positive and black to negative. Start the engine, read voltage at idle, then hold 3000 rpm and read again.
At idle, 12.8 to 13.5 volts is normal; the regulator is not asking for full output yet. At 3000 rpm, a healthy Mule charging system climbs to 13.8 to 14.7 volts and holds there.
If the reading stays near 12.2 to 12.4 volts at 3000 rpm and never climbs, the system is not charging at all. If it climbs past 15 volts, an overcharging regulator will boil the battery within a few weeks.
| Test | Good Reading | What It Tells You |
|---|---|---|
| Battery resting voltage | 12.6 to 12.8 V | Battery is holding a charge |
| Charging voltage at idle | 12.8 to 13.5 V | Normal, system not yet at full output |
| Charging voltage at 3000 rpm | 13.8 to 14.7 V | Charging system is healthy |
| Charging voltage at 3000 rpm, no rise | 12.0 to 12.4 V | Stator, regulator, or connector fault |
| Charging voltage climbing past spec | Above 15 V | Regulator overcharging the battery |
| Stator phase to phase | 0.2 to 1.0 ohm, roughly equal | Windings intact |
| Stator phase to ground | Open (OL on the meter) | No short to the frame |
| Ground strap resistance | Under 0.2 ohm | Good ground path |
Testing the Stator Off the Connector
Resistance Test With the Engine Off
Find the stator connector, a black 3 pin plug near the engine or along the frame rail under the seat, and unplug it. Set the multimeter to ohms and probe each pair of the three pins.
Phase to phase resistance should read low, commonly 0.2 to 1.0 ohm and close to equal across all three pairs, though exact numbers vary by model year.
Then touch one probe to each pin and the other to bare metal on the frame. A healthy stator reads open, shown as OL on most meters, and any numeric reading here means a winding has shorted to the frame and the stator needs to be replaced.
AC Output Test With the Engine Running
With the connector still unplugged, set the meter to AC volts. Carefully back probe each pair of the three pins while a helper holds the engine at 3000 rpm.
Output should climb well above idle into the 20 to 40 plus volts AC range per pair, and all three pairs should read close to the same number. A pair that reads noticeably lower points at a partial short in that winding.
Testing the Regulator Rectifier
If the stator passes both tests, the fault sits in the regulator, the wiring to it, or the ground. Locate the regulator, a finned aluminum unit bolted to the frame near the battery or under the cargo bed, and check that its fins are not caked in mud.
Set your multimeter to diode mode. With the regulator unplugged, probe between each of the three AC input pins and the DC positive output; current should pass one direction and block the other, and a reading that passes both ways or blocks both ways means the regulator has failed internally.
Heat is the main killer here. A regulator buried in mud or mounted with no airflow runs far hotter than one with open air around it, and a poor ground can also cause overcharging or undercharging.
Safety
Keep hands, meter leads, and clothing clear of the flywheel, drive belt, and any PTO shaft while the engine runs for these tests. Let the exhaust and regulator cool before you touch them; both run hot enough to burn skin within seconds.
The Corroded Connector Behind the Seat
A worn stator and a dead regulator get most of the blame, but the connector between them causes just as many no charge complaints on a Mule that works for a living. It usually sits low, under the seat or bed, right where wash water and mud collect.
I worked on a Mule 610 XC that ran a dairy barn feed route twice a day and got hosed down every evening along with the equipment around it. The owner had already paid for two regulator rectifiers, about 90 dollars each, before the machine came in still showing 12.3 volts at 3000 rpm.
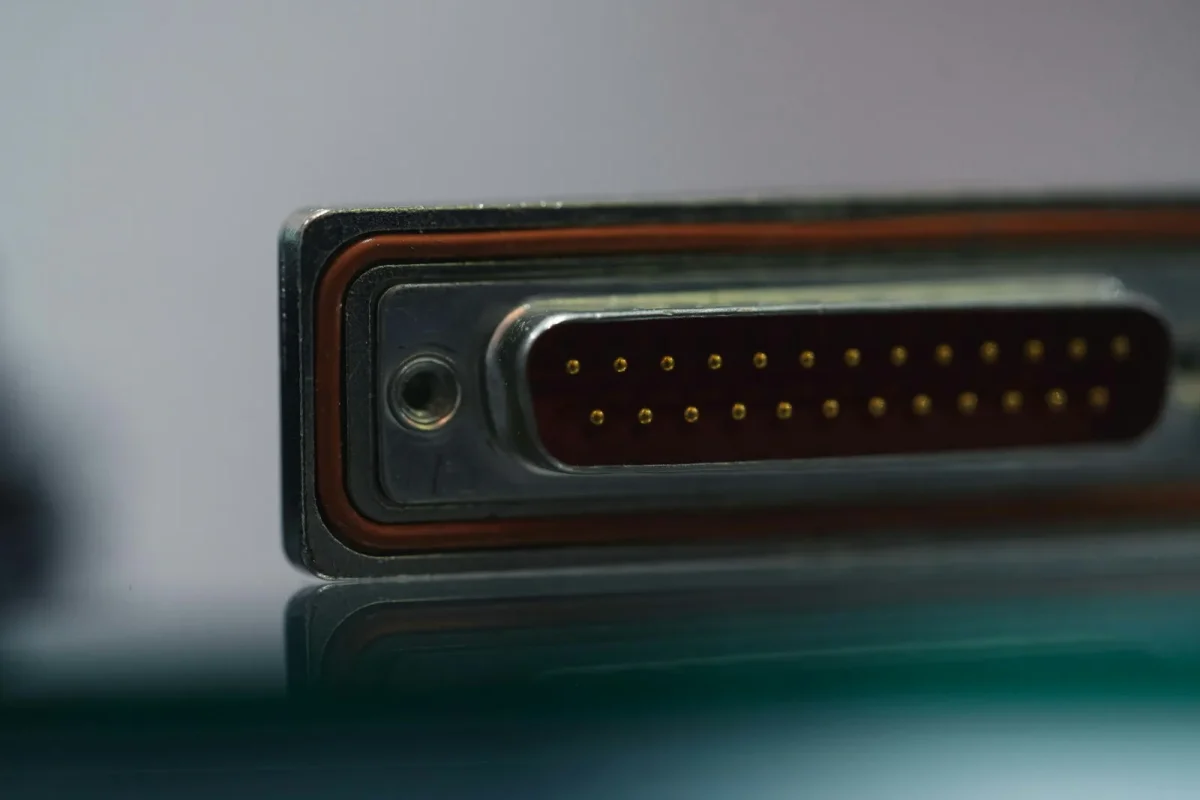
Ten minutes with a flashlight found the real problem: the 3 pin stator connector was packed with green corrosion, and two of the three pins barely touched their mates. A wire brush, a shot of dielectric grease, and a new connector clip fixed what two regulators could not.
Check this connector every time you test a Mule that will not charge. Corrosion here reads exactly like a dead stator on a meter if you probe the harness side instead of the actual pins.
Tip
Do not condemn the stator until you have charged and load tested the battery and checked this connector. A tired battery or a few cents of green corrosion causes more no charge complaints on working Mules than an actual failed stator.
Checking the Ground Strap and Fuse
The charging circuit needs a solid path back to the frame and engine block, not just a clean connector. Find the ground strap between engine and frame, usually a short braided or solid wire near the starter or bell housing.
Remove it, clean both ends to bare metal, and reinstall with a light coat of anti seize on the bolt threads. Resistance across a clean strap should sit under 0.2 ohm; anything higher can make a good regulator look like a bad one.
Last, check the main fuse in the charging circuit, typically 15 to 20 amps depending on the model. A fuse that looks fine but reads open will stop charging completely while every other circuit keeps working, which throws people off longer than it should.
- Charge and load test the battery before testing anything else
- Read voltage at idle and at 3000 rpm at the battery terminals
- Unplug the stator connector and check resistance phase to phase and phase to ground
- Rev the engine and read AC output across each stator lead pair
- Diode test the regulator rectifier with it unplugged
- Inspect the stator connector for corrosion and clean or replace it
- Clean the ground strap and check the main charging fuse
What to Do With These Numbers
Work through these tests in order and the fault usually shows itself within twenty to thirty minutes. A good battery with good stator numbers and a bad regulator reading means one part, roughly 60 to 150 dollars; a shorted or open stator means a part in the 100 to 250 dollar range, plus an hour or two of labor if a shop does it for you.
If every test comes back within spec and the machine still will not hold a charge, go back to the connector and the ground strap. Those two spots cause more repeat visits than any actual part failure on a Mule that spends its life outside.
Write down every number as you go. A single reading means little until you compare it to the last test and to the ranges here.
Frequently asked questions
What voltage should a Kawasaki Mule show when it is charging correctly?
At the battery terminals with the engine warm, look for 13.8 to 14.7 volts at 3000 rpm. At idle, 12.8 to 13.5 volts is normal and does not mean the system has failed. Anything under 13 volts at 3000 rpm points to a stator, regulator, or connector problem.
Why does my Mule battery keep going dead even though I keep charging it?
A battery that will not hold a charge for more than a day or two is usually sulfated from sitting between jobs, and repeated charging will not fix that. Load test it under a cranking load; a drop below 9.6 volts means it needs to be replaced. If the battery holds fine on a bench charger but drains again after a ride, test the stator and regulator instead.
Where is the stator connector on a Kawasaki Mule and why does it corrode?
On most Mule models the 3 pin stator connector sits low on the frame, often under the seat or cargo bed, right where wash water and mud collect. Years of pressure washing or creek crossings push moisture past the seal and green corrosion builds on the pins. That corrosion raises resistance and can look exactly like a dead stator on a meter.
Can I test the stator without removing it from the engine?
Yes. Unplug the connector, set a multimeter to ohms, and read resistance phase to phase and phase to ground with the engine off. Then switch the meter to AC volts and read output across each pair of leads while the engine holds 3000 rpm.
How much does it cost to fix a Kawasaki Mule that will not charge?
If the fault is only a corroded connector or ground strap, cleaning it costs nothing but time. A new regulator rectifier commonly runs 60 to 150 dollars, and a replacement stator runs 100 to 250 dollars in parts, plus an hour or two of labor if a shop removes the cover for you.

Vidya Verma
Vidya Verma is a UTV and powersports technician with hands-on experience diagnosing electrical, charging, and starting problems on Polaris, Can-Am, and other side-by-side platforms. She writes practical, workshop-tested repair guides that help owners troubleshoot faults, choose the right parts, and get their machines running reliably in the field. When she's not under the hood, she's out riding trails and stress-testing the same fixes she recommends.